Portrait Photography Tips for Beginners
Portrait photography is one of the most rewarding genres of photography. There's something magical about capturing a person's essence, emotion, and personality in a single frame. However, achieving compelling portrait photographs requires more than just pointing a camera at someone and pressing the shutter. In this comprehensive guide, I'll share essential portrait photography tips that will help beginners create stunning portraits that truly connect with viewers.
Understanding Light: The Foundation of Great Portraits
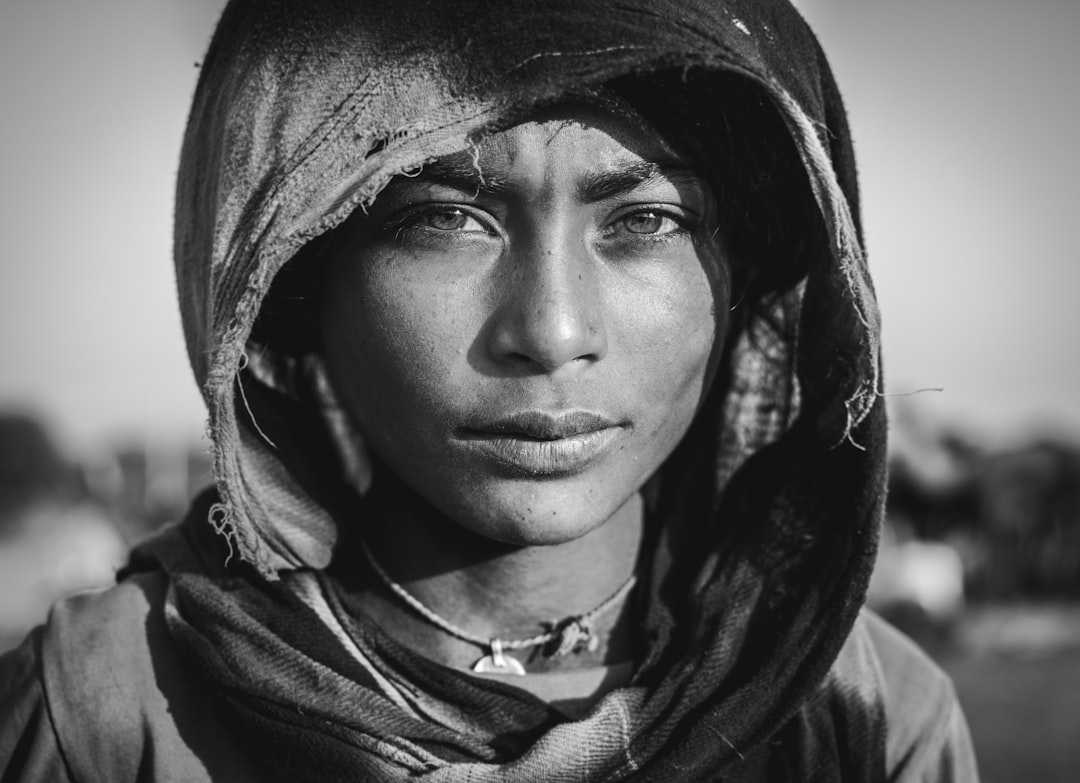
Light is the most crucial element in photography, and especially in portrait photography. Understanding how light affects your subject's features is fundamental to creating captivating portraits.
Natural Light Techniques
When working with natural light, the golden hours (shortly after sunrise or before sunset) provide soft, warm light that flatters almost any subject. Position your subject so that the light illuminates their face at a flattering angle—often, having them face the light source at a 45-degree angle creates pleasing shadows that add dimension.
For outdoor portraits during harsh midday sun, seek open shade under trees or buildings. This diffused light provides even illumination without harsh shadows or squinting eyes. Alternatively, use a reflector to bounce light back onto your subject's face and fill in shadows.
Artificial Lighting Basics
If you're working indoors or in challenging lighting conditions, understanding basic artificial lighting setups will significantly improve your portraits:
- One-light setup: Position a single light source at a 45-degree angle to your subject for classic, dimensional lighting.
- Two-light setup: Add a fill light opposite your main light to soften shadows and provide more even illumination.
- Three-point lighting: The standard setup includes a key light, fill light, and rim light (behind the subject) to create separation from the background.
Mastering Composition for Powerful Portraits
Composition refers to how you arrange elements within your frame. Strong composition guides the viewer's eye and creates visual impact.
The Rule of Thirds
Instead of centering your subject, try placing them at the intersection points of imaginary grid lines that divide your frame into thirds. This often creates more dynamic and engaging portraits. Most cameras have a grid overlay option to help you visualize this.
Framing and Background
Pay careful attention to what appears behind and around your subject. A cluttered or distracting background can ruin an otherwise perfect portrait. Consider these approaches:
- Use a wide aperture (low f-number like f/1.8 or f/2.8) to create a shallow depth of field, blurring the background.
- Position your subject in front of simple, uncluttered backgrounds.
- Incorporate environmental elements that tell a story about your subject.
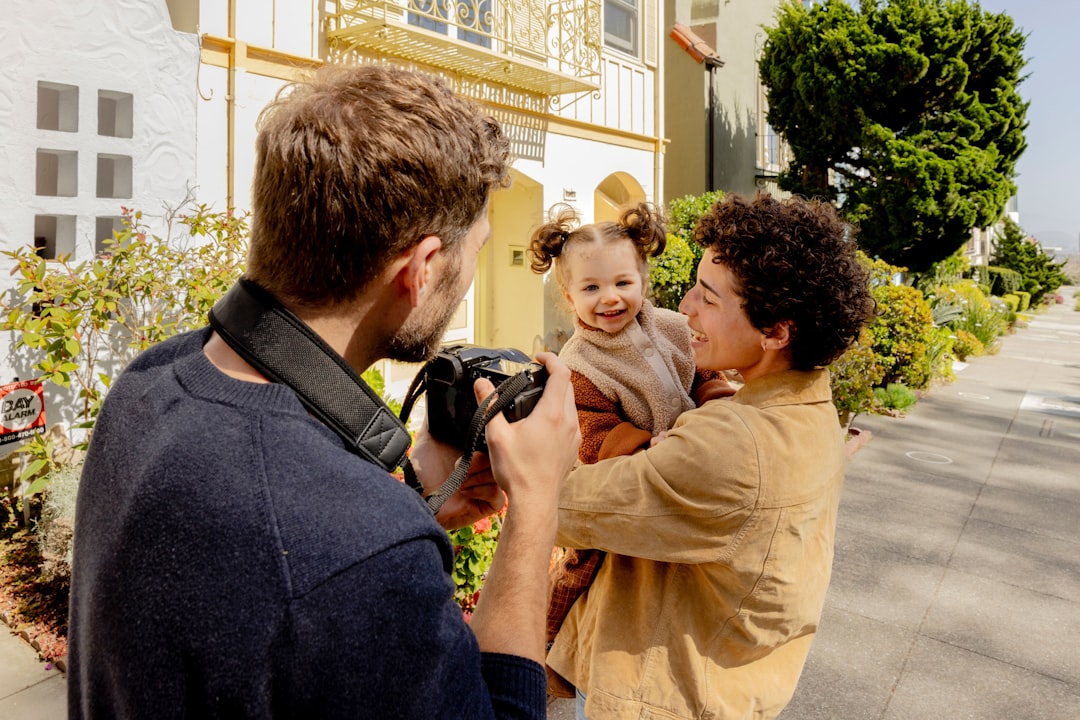
Directing and Posing Your Subject
Many people feel uncomfortable in front of a camera, so learning to direct and pose your subjects effectively is essential for natural-looking portraits.
Building Rapport
Take time to connect with your subject before shooting. Casual conversation helps them relax and reveals genuine expressions. Remember that your energy sets the tone—if you're comfortable and confident, your subject will likely mirror that feeling.
Basic Posing Guidelines
While posing should appear natural, a few technical adjustments can make a significant difference:
- Create space between arms and the body to avoid the appearance of added weight.
- Have your subject slightly angle their body rather than facing the camera directly.
- Ask them to push their chin slightly forward and down to define the jawline.
- Pay attention to hand placement—hands often look best when relaxed and partially visible.
Camera Settings for Portrait Photography
Understanding which camera settings to use for portraits will help you achieve consistent, high-quality results.
Aperture
For individual portraits, a wide aperture (f/1.8 to f/4) creates pleasing background blur (bokeh) that makes your subject stand out. For group portraits, use a narrower aperture (f/5.6 to f/8) to ensure everyone is in focus.
Shutter Speed
To avoid camera shake when shooting handheld, use a shutter speed of at least 1/focal length of your lens. For example, with a 50mm lens, shoot at 1/50 sec or faster. If your subject is moving, you'll need an even faster shutter speed.
ISO
Keep your ISO as low as possible (100-400) in good lighting conditions to minimize noise. In low light, don't be afraid to increase ISO rather than compromising your aperture or shutter speed—modern cameras handle higher ISOs remarkably well.
Post-Processing for Portrait Photography
Even the best portraits often benefit from thoughtful editing. Here are some post-processing considerations:
- Skin retouching: Keep it natural—the goal is to reduce temporary blemishes while preserving skin texture and character.
- Color grading: Develop a consistent style that complements your subjects and enhances the mood of your portraits.
- Dodge and burn: Subtly enhance the natural light and shadow on your subject's face to add dimension.
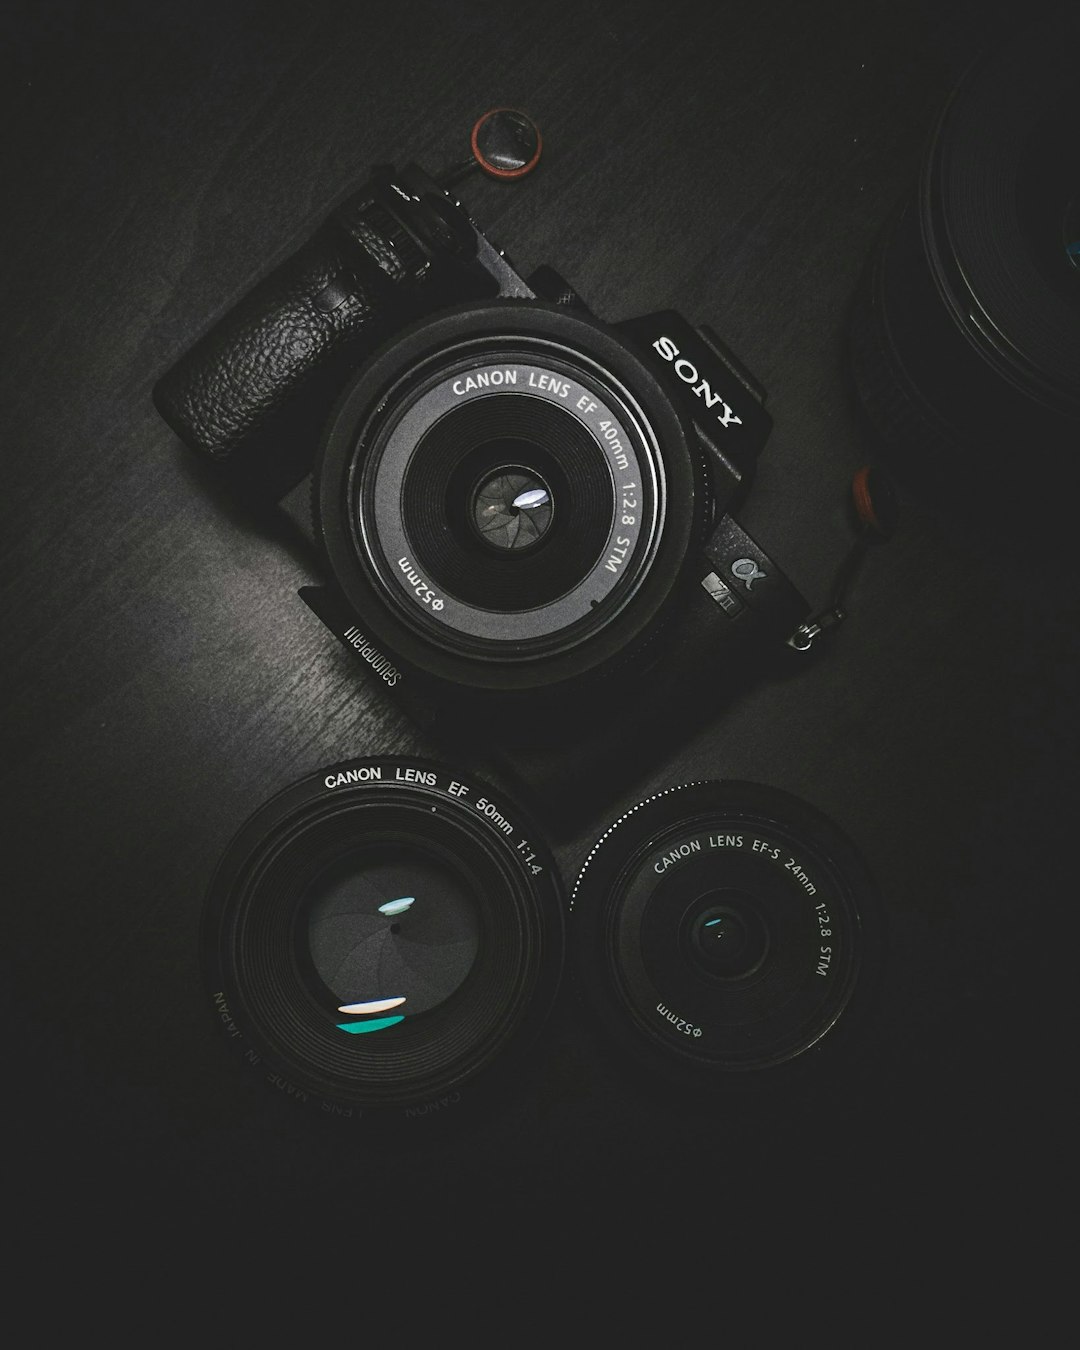
Essential Equipment for Portrait Photography
While you can create beautiful portraits with minimal gear, certain equipment can expand your creative possibilities:
- Lenses: A 50mm or 85mm prime lens with a wide maximum aperture (f/1.8 or wider) is ideal for portraits, offering pleasing perspective and background blur.
- Reflectors: An inexpensive 5-in-1 reflector helps control natural light and fill shadows.
- External flash: When natural light isn't sufficient, an external flash with a softbox or diffuser creates flattering light.
Conclusion: Practice Makes Perfect
The most important aspect of improving your portrait photography is consistent practice. With each portrait session, you'll become more comfortable directing subjects, working with light, and making technical decisions. Don't be afraid to experiment and develop your unique style.
Remember that powerful portraits go beyond technical perfection—they capture authentic emotion and connection. Focus on creating an environment where your subject feels comfortable enough to reveal their genuine self, and you'll create portraits that truly resonate with viewers.

Comments (3)
Michael Thompson
June 16, 2024 at 10:23 AMThis is such a comprehensive guide! I've been struggling with portrait lighting for months, and your explanation of the 45-degree angle technique has already improved my shots. Thank you!
Emily Chen
June 17, 2024 at 3:45 PMDo you have any specific recommendations for portrait lenses that won't break the bank? I'm using a crop sensor camera and trying to decide between a 50mm and an 85mm.
Sarah Johnson
June 17, 2024 at 5:12 PMHi Emily! For a crop sensor camera, I'd recommend starting with a 50mm f/1.8 (which gives you roughly a 75-80mm equivalent on most crop sensors). These lenses are relatively affordable across most brands and provide beautiful bokeh. The 85mm would give you more compression, but might be challenging for indoor portraits due to the tighter frame.
Leave a Comment