The Art of Night Photography
When the sun sets and darkness envelops the landscape, a whole new world of photographic opportunities emerges. Night photography offers a unique canvas for creative expression, transforming familiar scenes into mysterious and captivating images. From star-studded skies to vibrant cityscapes, the art of capturing images after dark requires specialized techniques and equipment, but rewards photographers with truly magical results.
Essential Equipment for Night Photography
Before diving into techniques, let's cover the essential gear that will make your night photography journey more successful and enjoyable.
Camera Considerations
While you can capture night images with almost any modern camera, certain features will significantly improve your results:
- Full-frame sensors: Larger pixels gather more light, resulting in cleaner images with less noise at high ISO settings.
- Manual exposure controls: The ability to manually control aperture, shutter speed, and ISO is non-negotiable for night photography.
- Bulb mode: This feature allows exposures longer than 30 seconds, essential for star trails and other long-exposure techniques.
- In-body stabilization: While less useful for very long exposures, IBIS can help with shorter night shots and handheld cityscapes.
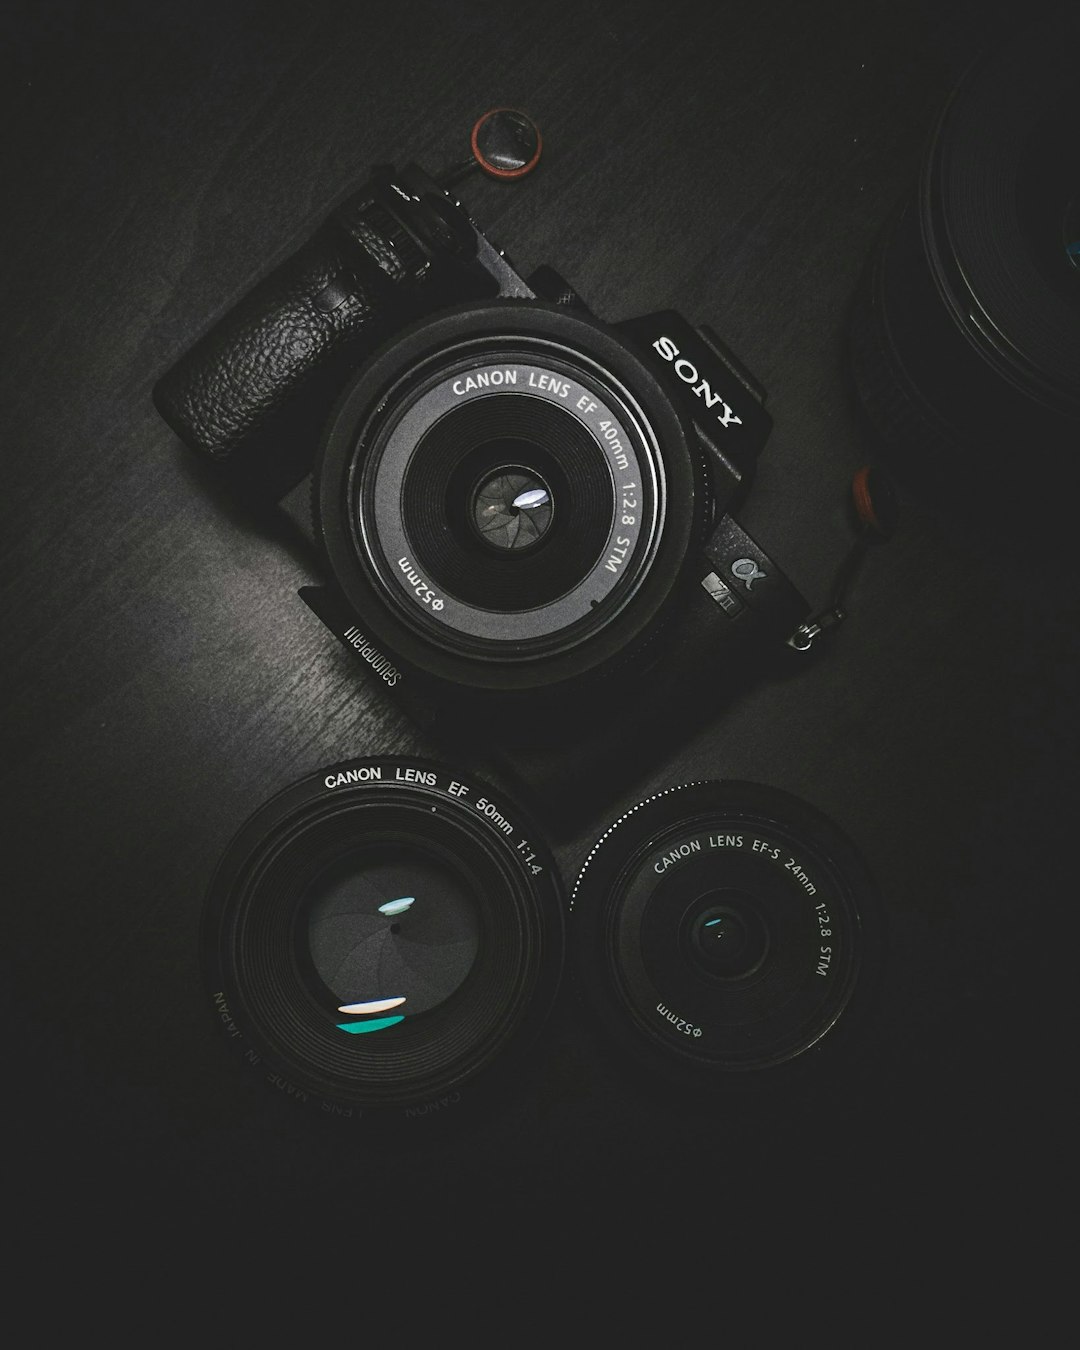
Lenses for Night Photography
The right lens can make a dramatic difference in your night photography results:
- Fast wide-angle lenses: A lens with a focal length between 14-24mm and an aperture of f/2.8 or wider is ideal for astrophotography and capturing expansive night scenes.
- Prime lenses: Prime lenses with apertures of f/1.8 or wider are excellent for low-light situations and creating beautiful bokeh with city lights.
- Quality mid-range zooms: A versatile 24-70mm f/2.8 lens can handle most night photography scenarios, from cityscapes to environmental portraits.
Stability and Support
Stability is paramount in night photography due to the long exposures required:
- Sturdy tripod: Invest in a quality tripod that can handle wind and other environmental factors. Carbon fiber offers the best combination of stability and weight.
- Remote shutter release: A wired or wireless remote eliminates camera shake during long exposures.
- Intervalometer: Essential for creating star trails and time-lapse sequences.
Camera Settings for Night Photography
Mastering camera settings is crucial for successful night photography. Let's explore the optimal configurations for different night scenarios.
The Exposure Triangle After Dark
Understanding how to balance aperture, shutter speed, and ISO is fundamental to night photography:
- Aperture: Use the widest aperture your lens allows (lowest f-number) to gather maximum light. For astrophotography, f/2.8 or wider is ideal.
- Shutter speed: This varies dramatically based on your subject. For starry skies without trails, use the "500 rule" (500 ÷ focal length = maximum shutter speed in seconds). For cityscapes, 10-30 seconds often works well.
- ISO: Start with the lowest ISO possible to minimize noise, then increase as needed. Modern cameras can often produce clean images at ISO 3200-6400, but test your camera's limits beforehand.
Focusing in the Dark
Achieving sharp focus is one of the biggest challenges in night photography:
- Manual focus: Autofocus often struggles in low light. Switch to manual focus and use these techniques:
- Live view magnification: Use your camera's live view feature, zoom in on a bright point (like a star or distant light), and manually adjust focus until sharp.
- Focus peaking: If your camera has this feature, enable it to see which areas are in focus.
- Hyperfocal distance: For landscape night photography, focus at the hyperfocal distance to maximize depth of field.
- Tape your focus ring: Once you've achieved perfect focus, use gaffer tape to secure the focus ring so it doesn't accidentally move during shooting.
White Balance Considerations
Setting the correct white balance is crucial for accurate colors in night photography:
- Shoot in RAW: This allows you to adjust white balance during post-processing without quality loss.
- Custom white balance: For cityscapes with mixed lighting, create a custom white balance using a gray card.
- Kelvin values: For astrophotography, try settings between 3500K-4500K to maintain natural star colors.
Techniques for Stunning Night Images
Now that we've covered equipment and settings, let's explore specific techniques for different night photography scenarios.
Astrophotography: Capturing the Night Sky
Photographing stars, the Milky Way, and other celestial objects requires specific techniques:
- Location scouting: Find areas with minimal light pollution. Use apps like Dark Sky Finder or Light Pollution Map to identify dark sky locations.
- Timing: The Milky Way is most visible during certain months and times. Plan your shoot around moon phases—new moon nights offer the darkest skies.
- Composition: Include interesting foreground elements to give scale and context to your star images.
- Stacking: For the cleanest star images, take multiple exposures and stack them in post-processing to reduce noise.
Star Trails: Painting with Light
Creating dramatic star trail images requires a different approach than standard astrophotography:
- Two methods: You can create star trails either through a single very long exposure (30+ minutes) or by stacking multiple shorter exposures.
- Pointing north: In the Northern Hemisphere, point your camera toward Polaris (the North Star) to create circular star trails. In the Southern Hemisphere, point toward the South Celestial Pole.
- Exposure settings: For the stacking method, try 30-second exposures at f/2.8 and ISO 3200, taking 100+ images over 30-60 minutes.
Cityscapes at Night
Urban environments transform after dark, offering vibrant colors and dynamic lighting:
- The blue hour: Shoot just after sunset when there's still some color in the sky. This balance between ambient light and artificial lights creates stunning cityscapes.
- Long exposures: Use shutter speeds of 10-30 seconds to capture light trails from traffic and create smooth water surfaces.
- Exposure bracketing: For high-contrast scenes, bracket your exposures and blend them in post-processing to capture details in both highlights and shadows.
Light Painting: Creating with Light
Light painting allows you to selectively illuminate your scene during a long exposure:
- Tools: Use flashlights, LED panels, or even dedicated light painting tools with adjustable intensity and color.
- Technique: During a long exposure (typically 2-5 minutes), "paint" light onto your subject by moving the light source smoothly and evenly.
- Experimentation: Try different colors, intensities, and movement patterns to create unique effects.
Post-Processing Night Photography
Post-processing is essential for bringing out the full potential of your night images:
Noise Reduction Techniques
High ISO settings often introduce noise that needs to be addressed:
- RAW processing: Use software like Lightroom or Capture One to apply noise reduction while preserving detail.
- Stacking for noise reduction: For astrophotography, stack multiple exposures using software like Starry Landscape Stacker or Sequator to dramatically reduce noise.
- Selective noise reduction: Apply stronger noise reduction to shadow areas while preserving detail in brighter regions.
Enhancing Details and Colors
Night images often benefit from careful enhancement of details and colors:
- Local adjustments: Use brushes or radial filters to selectively brighten or darken specific areas of your image.
- Color grading: Enhance the natural colors of the night sky or create artistic color palettes for cityscapes.
- Clarity and texture: Use these tools sparingly to enhance details without creating an unnatural look.
Advanced Techniques
For truly stunning night images, consider these advanced post-processing techniques:
- Exposure blending: Combine multiple exposures with different settings to capture the full dynamic range of a night scene.
- Focus stacking: Blend multiple images focused at different distances to achieve sharpness throughout the frame.
- Time-blending: Combine images taken at different times (e.g., blue hour and astro shots) for impossible scenes.
Safety and Etiquette for Night Photography
Night photography presents unique challenges and responsibilities:
Personal Safety
Photographing at night requires additional safety considerations:
- Location awareness: Scout locations during daylight hours and be aware of potential hazards.
- Bring a companion: Whenever possible, shoot with a friend for added safety.
- Carry essential supplies: Bring water, snacks, a first-aid kit, and appropriate clothing for changing conditions.
- Let others know your plans: Share your location and expected return time with someone.
Environmental Responsibility
As night photographers, we have a responsibility to minimize our impact:
- Leave no trace: Pack out everything you bring in, including any trash.
- Respect wildlife: Avoid using bright lights that might disturb nocturnal animals.
- Minimize light pollution: Use only necessary lighting and avoid pointing lights toward sensitive areas.
Legal Considerations
Be aware of legal restrictions that may apply to night photography:
- Access permissions: Ensure you have permission to be on the property, especially after hours.
- Drone regulations: If using drones for night photography, follow all local regulations regarding nighttime flights.
- Commercial use: Understand the restrictions on commercial photography in certain locations, especially national parks and protected areas.
Conclusion: Embracing the Night
Night photography offers a unique and rewarding creative outlet, allowing photographers to capture scenes that are invisible to the naked eye. While it presents technical challenges, the satisfaction of creating stunning images in low light conditions is unparalleled.
Remember that mastering night photography is a journey. Start with the basics, practice regularly, and gradually incorporate more advanced techniques as your skills develop. Don't be discouraged by initial failures—each night photography session is a learning opportunity that will improve your craft.
Most importantly, take time to simply enjoy the experience of being outdoors at night. The quiet solitude and beauty of the night world can be transformative, offering not just photographic opportunities but also moments of reflection and connection with the natural world.
Comments (7)
Thomas Wright
April 23, 2024 at 7:45 AMThis is an incredibly comprehensive guide to night photography! I've been struggling with noise in my astrophotography images, and your section on stacking techniques has given me a new approach to try. Thank you for sharing your expertise!
Maria Rodriguez
April 23, 2024 at 3:20 PMI'm curious about your recommendations for budget-friendly equipment for someone just starting with night photography. What's the absolute minimum setup needed to capture decent star photos without breaking the bank?
Alexandra Chen
April 23, 2024 at 5:15 PMHi Maria! Great question. For a budget-friendly setup, I'd recommend: 1) Any modern DSLR or mirrorless camera with manual controls (even older models work well), 2) A sturdy tripod (you can find decent ones for under $100), 3) A fast wide-angle prime lens (like a 24mm f/2.8 or 35mm f/1.8), and 4) A remote shutter release (can be found for under $20). This setup can produce beautiful night sky images without a huge investment.
James Peterson
April 24, 2024 at 10:30 AMDo you have any tips for focusing in complete darkness? I've tried using live view but sometimes there are no bright points to focus on, especially when shooting in remote areas.
Sarah Kim
April 25, 2024 at 2:15 PMThank you for mentioning safety considerations! I recently went night shooting alone and didn't think to let anyone know where I was going. Your advice about location scouting during daylight hours is also spot on - I learned that lesson the hard way after a close encounter with a cliff edge in the dark!
David Thompson
April 26, 2024 at 9:45 AMWhat's your approach to white balance when shooting cityscapes with mixed artificial lighting sources? I find it challenging to get consistent colors across the entire scene.
Lisa Johnson
April 27, 2024 at 4:20 PMI've been experimenting with light painting recently and your section on techniques was very helpful. Do you have any specific recommendations for light sources that work well for different effects?
Leave a Comment